

Okay y’all… I’m still not over it.
I put on an affordable Amazon wig (nothing fancy, not “hard hair,” not one of those super stiff units)… and after a few tweaks, it turned into one of those “wait… is that growing out your scalp?” moments.
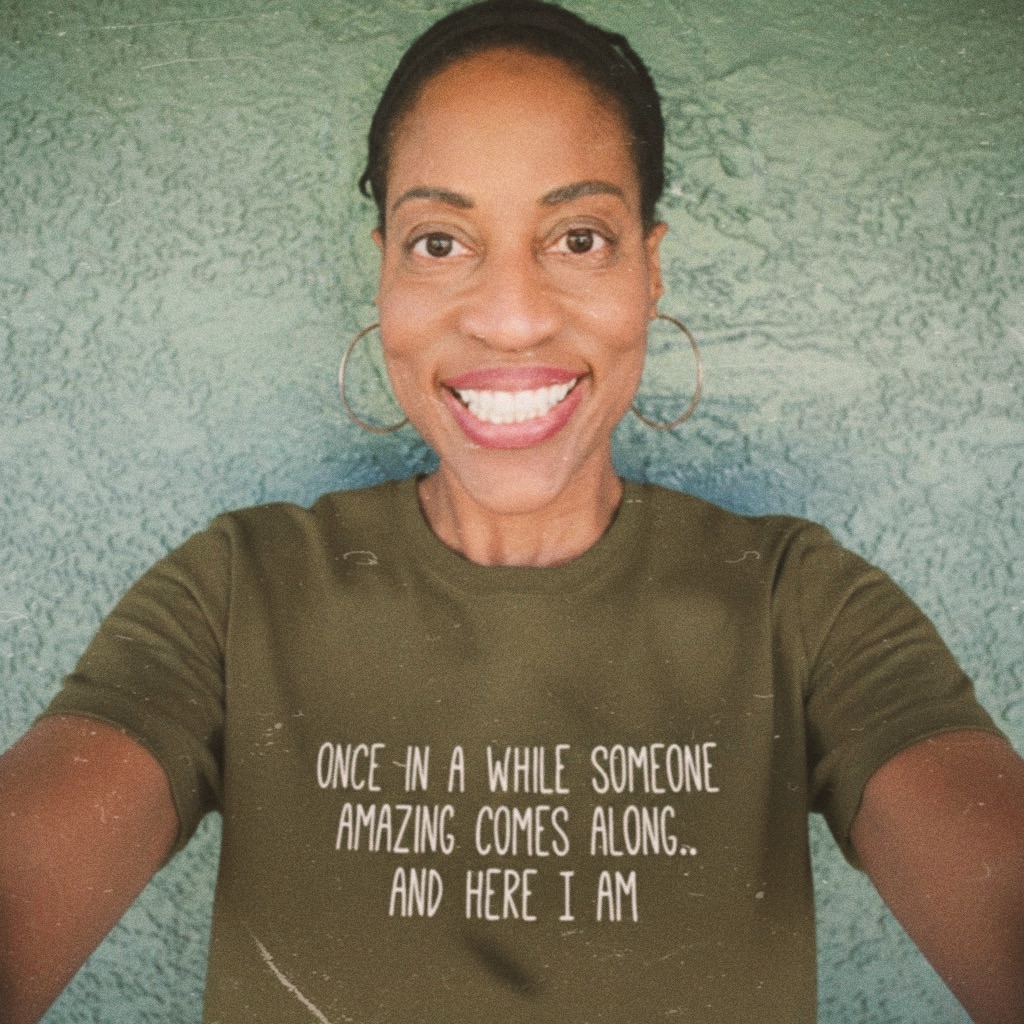
Like… I’m outside. In the sun. Zoomed in. And the lace is basically like: “What lace?” 😭
So I had to turn this into a full blog post because if you’ve ever struggled with that obvious lace line, this is for you.

The Goal: “Natural Hairline” Illusion, Not Perfection
Listen—real talk… a lace front doesn’t have to be expensive to look expensive.
The goal isn’t to make it flawless under a microscope. The goal is to make it look seamless in real life—in selfies, in daylight, in motion, and when people are too close to you in public. 😅
And that comes down to one thing:
✅ Customization.
Not the wig itself… what you do to it.
Why Lace Gives It Away (And How to Fix It)
Most wigs don’t look “wiggy” because of the hair.
They look wiggy because of:
A too-thick hairline Untinted lace Visible knots Lace not laying flat Wrong parting + harsh line No “skin” effect at the front
So what we’re doing is basically:
camouflaging the lace foundation and creating a believable scalp/hairline illusion.
My “What Lace?!” Routine (Budget Wig Edition)
1) Start With the Hairline (Because That’s What People Notice First)
If the hairline is dense and straight across, it screams wig.
Try this:
Lightly pluck the hairline (less is more!) Create a soft “peak” or slight unevenness (real hairlines aren’t perfect) Don’t forget the temples—that area makes a HUGE difference
Tip: Step back while you pluck. If you pluck up close the whole time, you’ll overdo it and regret your life. 😩
2) Tint the Lace to Match Your Skin (This Is Non-Negotiable)
Even “HD lace” can still look gray/ashy in sunlight.
Options:
Lace tint spray/mousse Foundation (powder or liquid) Tinting foam + a brush
The goal is for the lace to disappear into your skin tone—especially at the hairline and part.
CandiVee tip: Do this in natural light. Bathroom lighting lies. 😭
3) Create a “Scalp” Part (So It Doesn’t Look Like a Helmet)
That harsh part line will snitch every time.
Do this:
Make your part a little wider (not too wide) Add concealer/foundation to the part area Blend it out (no bright stripe!) Add a little powder to set it
When the part looks like scalp… everything looks more real instantly.
4) THE TWIST DON’T MELT the Lace (Don’t Lay It FLAT, leave it Floating)
The key is to mimic your natural hairline as much as possible. For 4C girls crimp the front and tease the baby hair back. Whatever wig you own don’t gel down the baby hair…. Mimic your natural hairline by any means possible.

5) Styling = The Final Cover-Up
This is the part people skip… but styling is what makes it look “yours.”
Try:
A little face framing Soft layers A side part (if your unit allows it) Baby hairs (optional… only if you actually like them)
Sometimes the best “what lace” trick is simply not wearing it bone straight with a sharp middle part. The style can hide what needs hiding.
The Real Test: Direct Sunlight ☀️
The sunlight test is brutal… and that’s exactly why it matters.
If it passes:
outdoor light phone camera zoom walking around with confidence
…then it’s a win.
And mine? Baby… I was OUTSIDE like:
“Zoom in. Zoom in again. What lace?” 😭😭😭


Leave a Reply